Faucet Components and Assembly
Aquasource bathroom faucet parts diagram – Aquasource bathroom faucets are meticulously engineered to provide exceptional performance and durability. Understanding the various components and their assembly process is crucial for proper installation and maintenance.
For the best replacement parts for your Aquasource bathroom faucet, it’s essential to refer to a detailed diagram. However, if you’re looking for a touch of elegance in your bathroom, consider Kohler gold bathroom faucets. Their timeless design and exceptional craftsmanship will elevate your bathroom décor.
But don’t forget, when it comes to repairs, a comprehensive Aquasource bathroom faucet parts diagram will guide you every step of the way.
Major Faucet Components, Aquasource bathroom faucet parts diagram
The primary components of an Aquasource bathroom faucet include:
- Faucet Body: The main housing that holds all the internal components.
- Handle: Controls the flow of water and temperature.
- Spout: The outlet where water flows from.
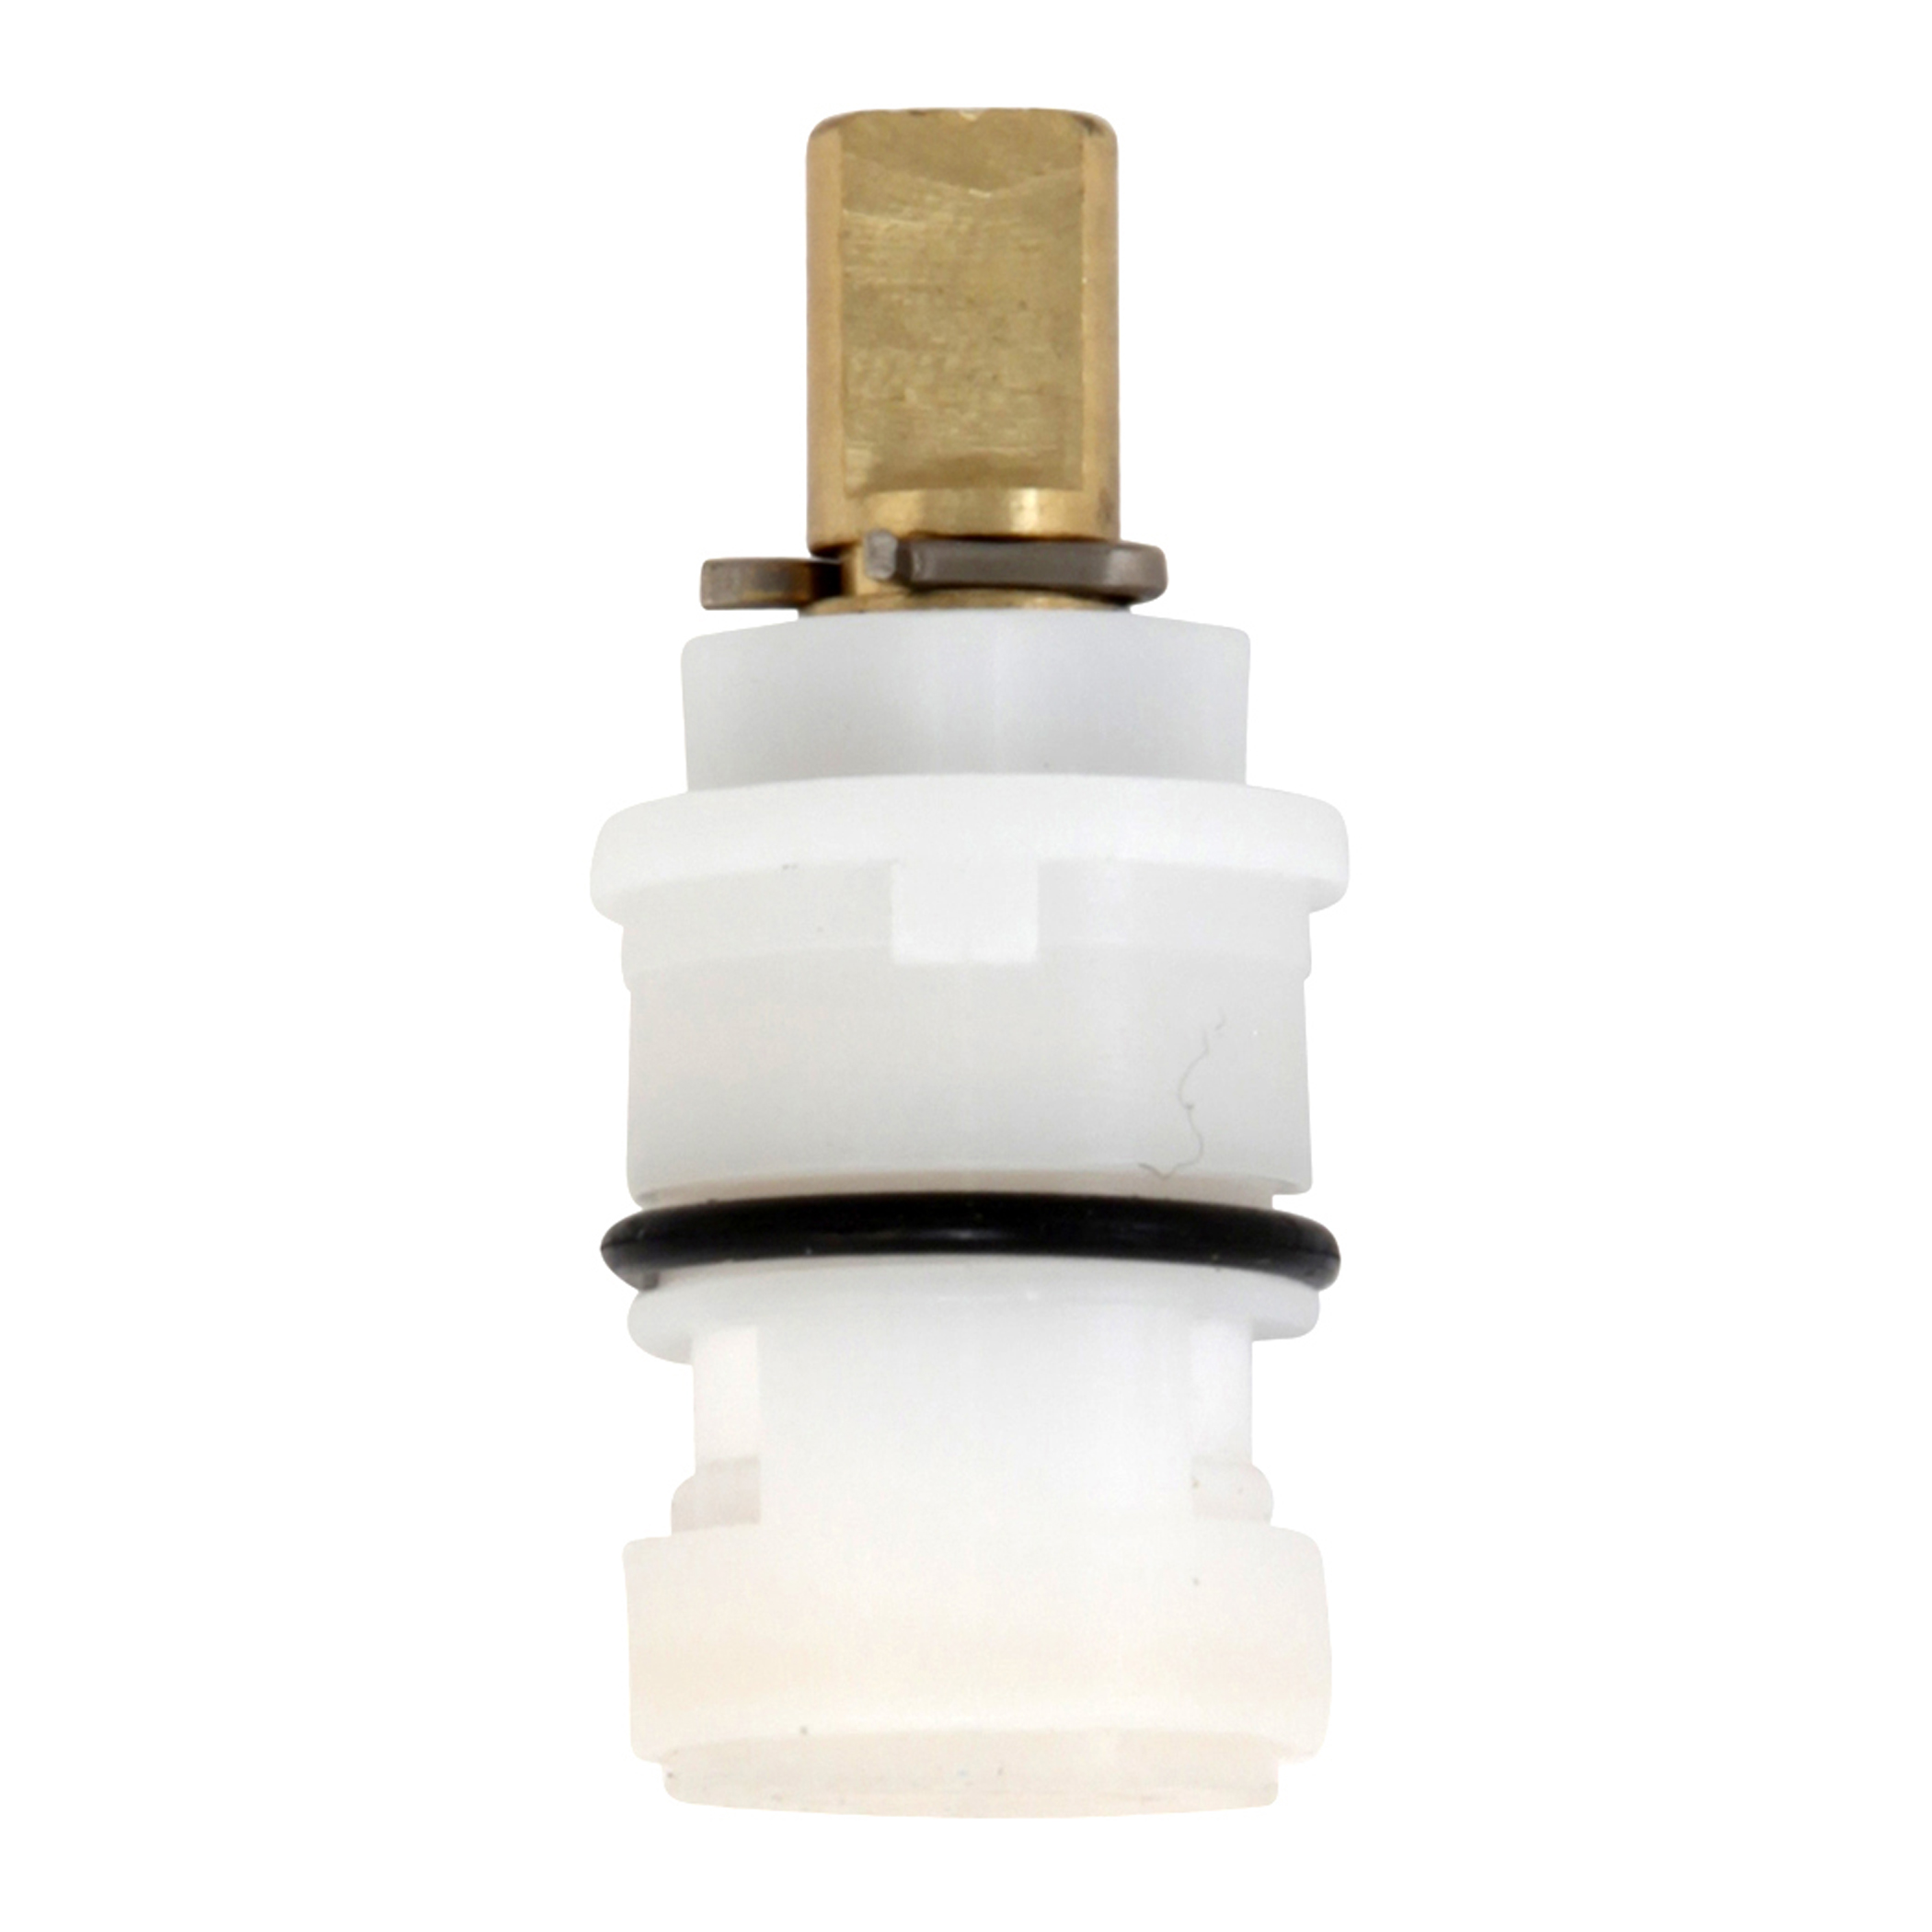
- Cartridge: A replaceable component that regulates water flow and temperature.
- Aerator: A device attached to the spout that reduces water flow and creates a more aerated stream.
- Mounting Hardware: Screws, nuts, and washers used to secure the faucet to the sink or countertop.
Assembly Process
The assembly process for an Aquasource bathroom faucet typically involves the following steps:
- Mount the Faucet Body: Secure the faucet body to the sink or countertop using the provided mounting hardware.
- Install the Cartridge: Insert the cartridge into the faucet body and tighten it securely.
- Attach the Handle: Slide the handle onto the cartridge and secure it with the provided screw.
- Install the Spout: Screw the spout onto the faucet body.
- Install the Aerator: Attach the aerator to the end of the spout.
- Connect the Water Supply Lines: Connect the hot and cold water supply lines to the corresponding inlets on the faucet body.
Types of Handles and Mechanisms
Aquasource bathroom faucets offer various handle types, each with its unique mechanism:
- Single-Handle Faucets: Feature a single lever that controls both water flow and temperature.
- Two-Handle Faucets: Have separate handles for hot and cold water, providing precise temperature control.
- Touchless Faucets: Utilize sensors to activate water flow, promoting hygiene and convenience.
Troubleshooting and Repair
Aquasource bathroom faucets are known for their durability and reliability, but even the best products can experience occasional issues. If you’re experiencing problems with your Aquasource faucet, don’t worry—most common issues can be easily diagnosed and repaired with a few simple steps.
Identifying Common Issues
The most common issues with Aquasource bathroom faucets include:
- Leaks
- Drips
- Clogs
- Loose handles
- Sticking spouts
Diagnosing and Repairing Leaks
Leaks are the most common issue with Aquasource bathroom faucets. To diagnose and repair a leak, follow these steps:
- Identify the source of the leak. Is it coming from the base of the faucet, the handle, or the spout?
- Once you’ve identified the source of the leak, you can begin to repair it. If the leak is coming from the base of the faucet, you may need to replace the O-rings or washers. If the leak is coming from the handle, you may need to tighten the packing nut.
- If the leak is coming from the spout, you may need to replace the aerator.
Replacing Cartridges and Other Components
In some cases, you may need to replace the cartridge or other components in your Aquasource bathroom faucet. To replace the cartridge, follow these steps:
- Turn off the water supply to the faucet.
- Remove the handle and the escutcheon.
- Unscrew the cartridge retainer nut.
- Pull out the old cartridge and insert the new cartridge.
- Tighten the cartridge retainer nut.
- Reinstall the escutcheon and the handle.
- Turn on the water supply and check for leaks.
Maintenance and Care: Aquasource Bathroom Faucet Parts Diagram
Regular maintenance is crucial for the longevity and optimal performance of your Aquasource bathroom faucet. Proper care includes cleaning, preventing corrosion, and addressing minor issues promptly.
Cleaning should be done regularly using a soft cloth and mild cleaning solutions. Avoid abrasive cleaners or harsh chemicals, as these can damage the faucet’s finish.
Preventing Corrosion
- Wipe down the faucet after each use to remove water droplets.
- Use a soft cloth to dry the faucet thoroughly.
- Apply a thin layer of petroleum jelly to the faucet’s exterior surfaces to create a protective barrier against moisture.
Extending Lifespan
- Inspect the faucet regularly for any leaks or loose parts.
- Tighten any loose screws or connections promptly.
- Replace worn-out washers or gaskets as needed.
- Avoid using the faucet as a towel rack or for hanging heavy objects.
The aquasource bathroom faucet parts diagram provides a comprehensive overview of the components that make up this essential fixture. For those seeking a more stylish and space-saving solution, consider the kohler wall mount bathroom faucet. Its sleek design and easy installation make it a popular choice for modern bathrooms.
Returning to the aquasource bathroom faucet parts diagram, it serves as an invaluable resource for troubleshooting and maintenance, ensuring the smooth operation of your bathroom fixture.
